In the previous two Tips, I've given you drawing lessons. (If you missed out on those you can find the first one HERE and the
second, HERE.) If you did the exercises, you are ready for this one. To review, last week we did an exercise in which we located shadow within a gesture drawing. The exercise didn't define the degrees of shadow, rather it only located shadow. Once shadow areas are located, then we can show their degrees of value and create their transitions into areas not in shadow. I've suggest you continue to use a lamp or coffee maker for your exercises because it's easier to learn this skill with simple
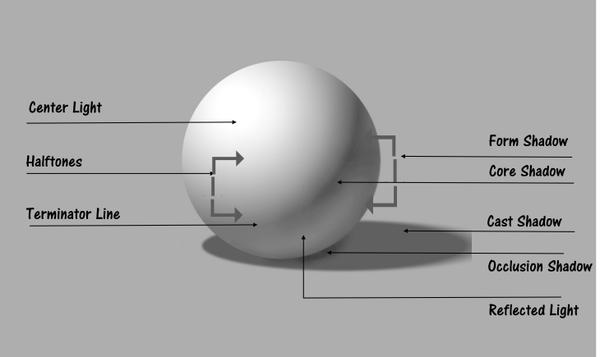
objects. Here is a diagram I create that shows the parts of light and shadow easy to find on a simple round object in a bright light.
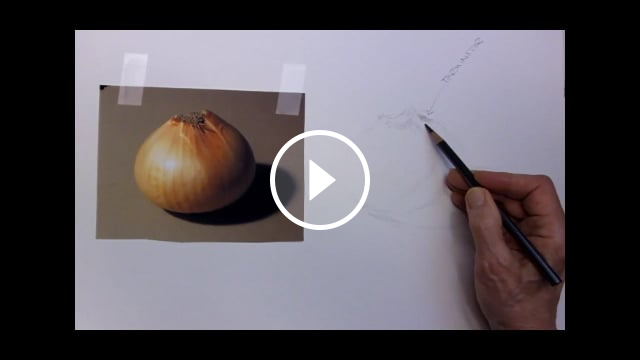
A couple of years ago, I created a rather rough but definitive short video, showing a simple way to define the parts of shadow and transitioning them into light in drawing. You will recognize the language I'm
using to talk about the shadow parts from the diagram above. Here's the video. Try this: Using one of your exercises where you began with gesture drawing, then located the shadow, use the techniques I show in this video and create those variations of shadow. You can access the archive of all my newsletters at anytime by going HERE. |
|
|
|